A lot of time and planning goes into driftwood sorting and storing. Driftwood sorting and storing may be a lot easier and take less time, if you plan ahead.
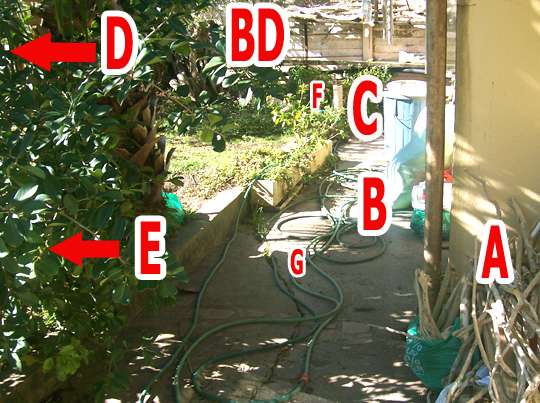
driftwood sorting and storing areas: A – driftwood waiting to be sorted, B – bags and packets of driftwood waiting to be washed, C – washing area, BD – driftwood either waiting to be washed or already washed and drying in the sun on two shelves (the driftwood was only on the top shelf when this photo was taken), D – further along the wall is more shelving or racks for driftwood drying, E – just to the left of that shrub is some lawn where sorting can be done, F – garden tap, G – garden hose pipe
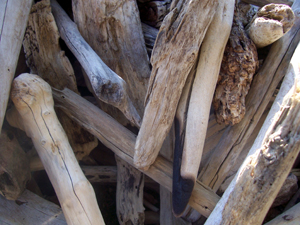
lots of driftwood sorting to do
You may not have all that much storage space for your driftwood pieces, and there may often be pieces of driftwood waiting for you in all of your storage areas, waiting for the next thing you’ll be doing to them.
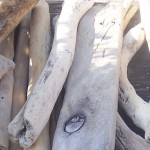
driftwood waiting to be sorted
It’s like moving house – you can’t move in until the previous owners have moved out – and they can’t move out until the house they’re moving to has been vacated.
Driftwood Sorting and Storing Steps
1.
Driftwood already collected but not yet sorted
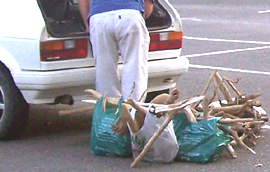
car boot and driftwood
Now where to put your driftwood once it’s out the car? Dump your packets and bags of driftwood, and any loose larger pieces close to where you are going to sort them, preferably outdoors. Hopefully the area is large enough to handle more packets and bags and larger pieces of driftwood too, in case you don’t get much of the space cleared in the steps ahead, before you want to go and collect more pieces of driftwood at the beach.
2.
Driftwood ready for sorting, and driftwood sorting
Close to or right next to where you’ve left your unsorted pieces of driftwood, start your driftwood sorting.
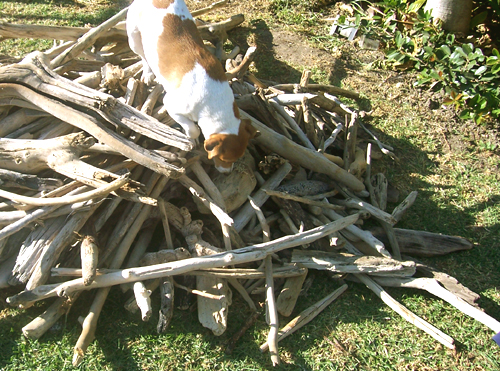
dog and pile of driftwood
Decide how you want to do your driftwood sorting.
We sort our driftwood pieces by longest side – the length of the pieces.

labeled cardboard box as a container for 30 to 45cm driftwood pieces
You can perhaps put the smaller pieces into packets or some other suitable container, and label your packets, cardboard boxes or containers, so you don’t forget what size they were and end up having to re-measure them.
We sort our driftwood pieces, by length, into 5to10cm pieces, 10to20cm pieces, 20to30cm pieces, 30to45cm pieces, 45to60cm pieces, 60to80cm pieces – and a few pieces over 80cm but we don’t sell these 80cm plus pieces.
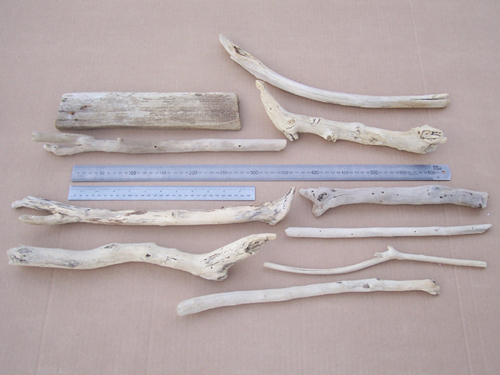
Driftwood pieces of between 30 and 45cm in length each, shown here with a 30cm ruler and a 60cm ruler.
In addition to doing driftwood sorting by length (for selling driftwood pieces) we also sort our pieces into two other piles: a pile of roots of any size (bamboo roots) and a pile of pieces we’re having second thoughts about: we have either decided we may not sell or use the pieces at all as they’re not nice enough, or we may want to use some pieces ourselves, for making something for our own use or own decor purposes, or for making something we can sell online or at a craft market. Both these piles (roots and pieces we don’t want to sell) can be split into further piles too: different sized roots, junk pieces (we can maybe use the pieces as firewood), and pieces we want to use to make something.
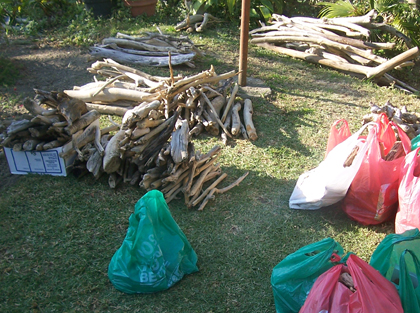
driftwood sorting – different piles of driftwood
The above extra driftwood sorting can of course also be done while you are sorting into different sizes. You can look at a 30 to 45cm driftwood piece, for example, and ask yourself:
Does this piece go into the regular 30 to 45 cm pile of driftwood?
Does this piece go into the “junk” or “own use” pile of driftwood?
Does this piece go into the special 30 to 45 cm pile of driftwood?
3.
Sorted driftwood pieces, but not yet cleaned
Since the sorting area is where you do some work with your driftwood pieces, it’s not really a waiting area or storage area, but it could also be a waiting area or storage area if you don’t have much space near to where you’ll be cleaning your driftwood pieces.
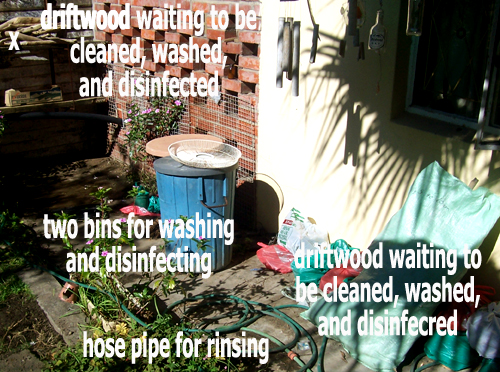
working with driftwood
If you need to remove your driftwood pieces from the sorting area to make space there for more driftwood pieces to be sorted or for space for something else (like mowing the lawn or providing space for your dogs to run around in), then there needs to be space for the driftwood pieces near the cleaning area, where the pieces can wait for their cleaning.
4.
Clean driftwood pieces but not yet dry or sun-bleached
The driftwood drying area should be quite large. Driftwood should lie out in the sun for a few days to fully dry, and for longer than just a few days if you want the pieces to become a little paler in colour (naturally bleached by the sun).
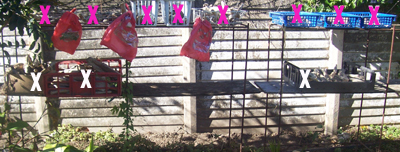
two rows of outdoor shelves for drying driftwood – the pink crosses (8 of them) show where baskets of driftwood are on the top shelf, and the white crosses (3 of them) show where baskets of driftwood are on the bottom shelf; the three red packets are just labels (have been written on) for the baskets or can be used to put the pieces in once they are dry
Speed up the outdoor driftwood drying or sun bleaching process by ensuring that the shelves or other set-up for your driftwood drying is in a well-ventilated and sunny spot. Also bring the driftwood pieces indoors at night if the weather has been getting cold or damp at night, or if it looks like it might rain – meaning you may also need indoor storage space that is as large as your outdoor drying area.
5.
Packing your driftwood pieces away
Your driftwood pieces are finally ready! They are completely dry or sun bleached to your satisfaction. You’re going to make something with your driftwood pieces, or you’re going to sell them – but not today. You need to store all your driftwood pieces – preferably indoors – until you’re ready to use them or sell them.
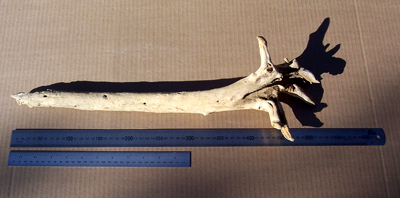
driftwood plus minus 50cm in length – shown here with a 30cm ruler and a 60cm ruler
If you don’t yet have time to take some photos (and you want to or need to), then you may also need to have some space for storing your driftwood pieces that are waiting to be photographed (if you need the drying area for more pieces).
If you don’t have much storage space for your ready pieces, and you have many pieces waiting to move to this step 5 driftwood storage area (preferably indoors), hopefully you make things or sell pieces quite quickly, to free up more storage space.
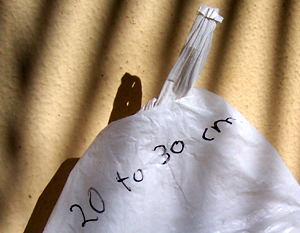
20 to 30cm driftwood pieces in a packet
Now, if your driftwood pieces are really and truly thoroughly dry, these containers do not have to be elaborate or well-ventilated – you can use packets or cardboard boxes. Remember to label everything, or you’ll feel like cursing later if you can’t remember the exact sizing of specific piles, or any other specifications about certain piles!
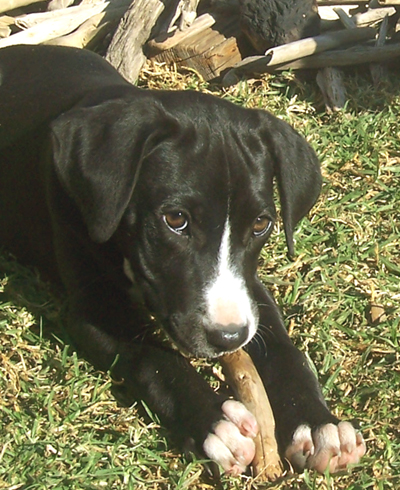
puppy on grass playing with driftwood – BEFORE the driftwood pieces were disinfected in a bleach or chlorine solution – AVOID using chemically bleached or chlorine-bleached driftwood pieces with plants and animals!
1.
If you’re quite into driftwood, and collect quite a bit of it, remember that you may have all storage or waiting areas full at once – other than perhaps the sorting area – prepare and plan well!
2.
Keep pieces that you’ve disinfected in bleach solutions or in chlorine solutions away from plants and animals – also see our driftwood warnings page!
3.
You can perhaps swap some of the steps around in the driftwood sorting and storing process: remove only the “junk” pieces during the sorting step, and then clean all your driftwood and let it dry, before you sort it into different size piles or other piles, before packing it away.
Conclusion:
Driftwood sorting and storing is quite a process, but doesn’t have to be so daunting if you prepare well for it. This article should also give you a rough idea of how much work we do to get pieces of driftwood ready for sale – quite a bit for just two of us! If you’d like to make something with driftwood pieces, but getting the pieces collected, sorted and otherwise ready sounds like too much of a hassle, well, that’s what we’re here for – have a look at what we have to offer or make a special request, and order driftwood pieces from us!
© Copyright Teresa Schultz 2014
