The driftwood Christmas tree described in this driftwood craft project stands approximately 40 centimetres high. We made a hanging driftwood Christmas tree – to be hung possibly from a much larger Christmas tree, from the ceiling, or against a wall (but slightly away from the wall). It could perhaps also be hung outdoors.
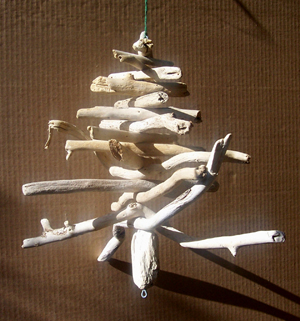
small driftwood Christmas tree against cardboard background
One could also decorate the string or rope that the driftwood Christmas tree hangs from.
If you don’t want to hang your driftwood Christmas tree, and want it to stand alone instead, you could insert the base into a container filled with pebbles, or could make the bottom piece of driftwood a chunky, square or rectangular piece of driftwood, with a flat bottom.
Update August 2017 – we sell small hanging driftwood Christmas trees from the main part of our site, as well as table top driftwood Christmas trees
Step 1 – Planning the Driftwood Christmas Tree
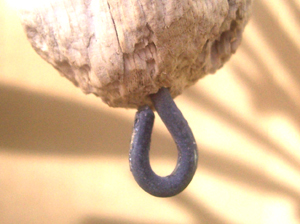
bottom wire loop of hanging driftwood Christmas tree
We decided to also include another hanging loop below the tree, in order to hang Christmas decorations beneath the tree in addition to hanging Christmas tree decorations on the branches of the tree.
The central spine of the tree, to which everything was to be attached was a length of 1.6 mm thick high strain steel wire. You could probably also use ordinary craft wire, or binding wire, instead.
Step 2 – Selecting the Driftwood for the Branches
Choosing your driftwood pieces
Step 3 – Preparing the Driftwood
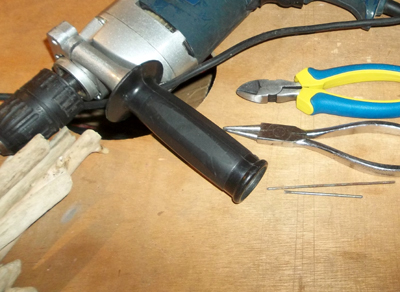
drill cutters circular pliers and drill bits
The base driftwood piece had a hole drilled through in the height (or longest length) of the base.
Standard wood bits are not long enough for this last operation, and I made a “special” drill bit that would be long enough, by cutting a piece of bicycle wheel spoke, and hammering the tip of the bicycle spoke into a sharp point.
I started the hole in the base driftwood piece by first drilling a hole as deep as I could with the 2mm thick shorter drill bit. I inserted the “special” bicycle wheel spoke drill bit into that hole, and finished it. BE CAREFUL when doing this, as it is never a certainty that the drill bit will exit exactly where you planned for it to exit, especially when it’s a bicycle spoke drill bit that you used in the drill.
Step 4 – Preparing the Wire “Spine”
Bend a loop into one end of the wire, using pliers. Squish the loop flat, and closed.
Step 5 – Assembling the Driftwood Christmas Tree
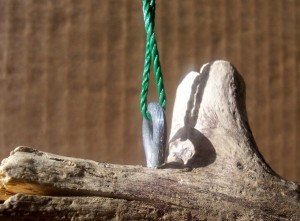
top wire loop on a hanging driftwood Christmas tree
Push your smallest driftwood piece all the way up nice and tight against the loop you made in the previous step.
Now repeat this process, until all the pieces of driftwood have been threaded onto the wire, including the base.
Make sure you are able to move or swivel your driftwood Christmas tree branches into the positions you prefer. It may be necessary to re-position a few driftwood pieces.
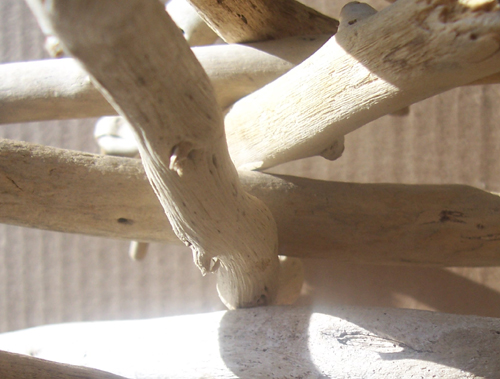
branches of a driftwood Christmas tree pushed up on the central wire spine tightly beneath each other
Step 6 – Completing your Driftwood Christmas Tree
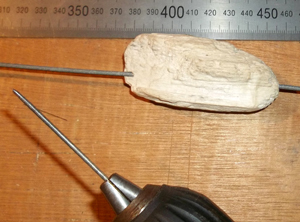
pushing the base driftwood piece up the wire
Step 7
brag 🙂
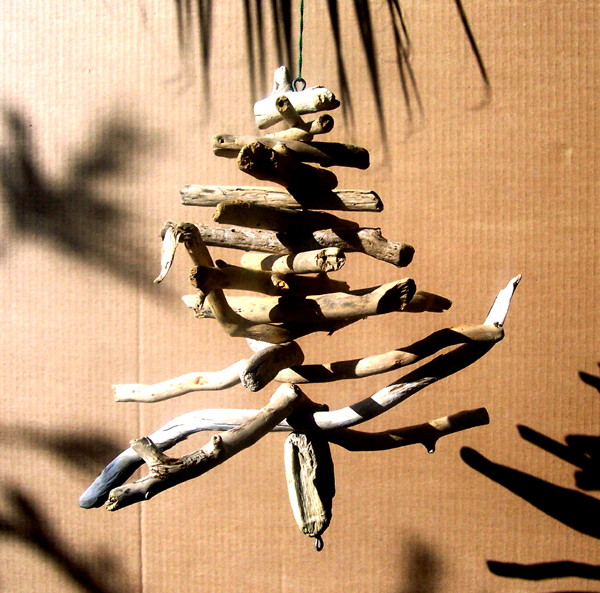
driftwood Christmas tree hanging outdoors
© Copyright Tony Flanigan 2014
